How to Add Texture in Adobe Illustrator (Step-by-Step)
My step by step workflow for Distressed, Weathered, Vintage Graphics in Adobe Illustrator
Texture can pull a whole design together. It can make something feel vintage, worn, weathered, or rugged. If you are designing logos, apparel graphics, or branding elements, texture can add depth and character that clean vector artwork alone cannot achieve. In this guide, I will walk through how to add texture in Illustrator using the same scalable vector workflow I use in professional brand and apparel design.
Typography and custom lettering often work alongside texture in design, and if you want to learn how fonts are built from scratch, I break down that process in my guide on how to design a font from scratch.
How to Add Texture in Illustrator
I get asked all the time how I add texture to my work. It’s become a recognizable part of my style, and clients request it regularly. This post breaks down the exact workflow I use in Adobe Illustrator to add scalable, production-ready texture using vector textures, not raster.
If you’ve ever ended up with muddy, unreadable textures or designs that feel like noise was just slapped on top, this approach solves that. It keeps the artwork clean, intentional, and ready for real-world use. The same approach works especially well when adding texture to logos, badge designs, and apparel graphics where you still need the artwork to remain clean, scalable, and production-ready.
The textures I personally use:Texture Pack
Why Texture Matters
Texture can:
• Give your design a weathered or vintage feel
• Add personality or grit
• Tie a whole composition together
• Make modern art feel more analog
• Help logos feel lived-in instead of sterile
And when it’s done in vector, everything is easy to use, and infinitely scalable. There isn’t any pixelation, resolution problems, no “raster texture nightmare” when someone asks for a billboard-size version of the graphic.

Cover artwork showing the vector texture in use.
My Exact Workflow: How to Add Texture to a Design
This is the method I use on logos, apparel graphics, badges, and whatever else.
Here is a quick video showing my process as well:
Watch the video: Video
1. Place the Vector Texture Over Your Design
Copy your texture and drop it right on top of your artwork.
Scale it until it feels right. This part is all visual.
2. Duplicate the Texture if Needed
If your design is larger, just duplicate the texture a few times side by side, up and down, to cover the whole piece.
3. Duplicate Your Artwork above and Convert it to Strokes
This step is a game changer.
Take your artwork → duplicate it above the texture → convert it to strokes.
Why? Because it keeps texture out of the edges of your design so everything stays readable.
Nothing looks worse than gritty edges that ruin your silhouette. Otherwise it makes the texture just looked slapped on vs crafted into the design.
4. Expand Everything
Expand the strokes so they become shapes.
You want all vector shapes before merging.
5. Merge All Shapes Together
Select everything → hit Merge in Pathfinder.
Now the texture is part of your design and you don’t have to worry about vendors and clients accidentally altering it in the future.
6. Select the Texture Areas Using Magic Wand
Grab the Magic Wand Tool (Y) and select the texture shapes.
Delete them.
Boom.
What you’re left with is:
clean vector artwork
perfectly textured
fully scalable
ready to roll!

Demonstrating the difference texture makes.
Why I Only Use Vector Textures
Raster textures:
• Aren’t scalable
• Get blurry
• Cause issues with print shops
• Don’t work easily in Illustrator
• Aren’t ideal for logos and logo files
Vector textures solve all of that.
And if you follow this workflow, you can texture logos, badges, apparel graphics, and everything else… all while keeping your artwork 100% vector.
The Texture Pack I Use Daily — Dirty Dristy Texture Pack
People ask me all the time where I get my textures.
Answer: I make them myself to match the style I’m going for.
I built my own pack from scratch because I needed textures that:
• Look bad ass
• Are 100% vector
• Work for apparel
• Scale infinitely
• Work for logos and illustration
Dirty Dristy Texture Pack: Texture Pack
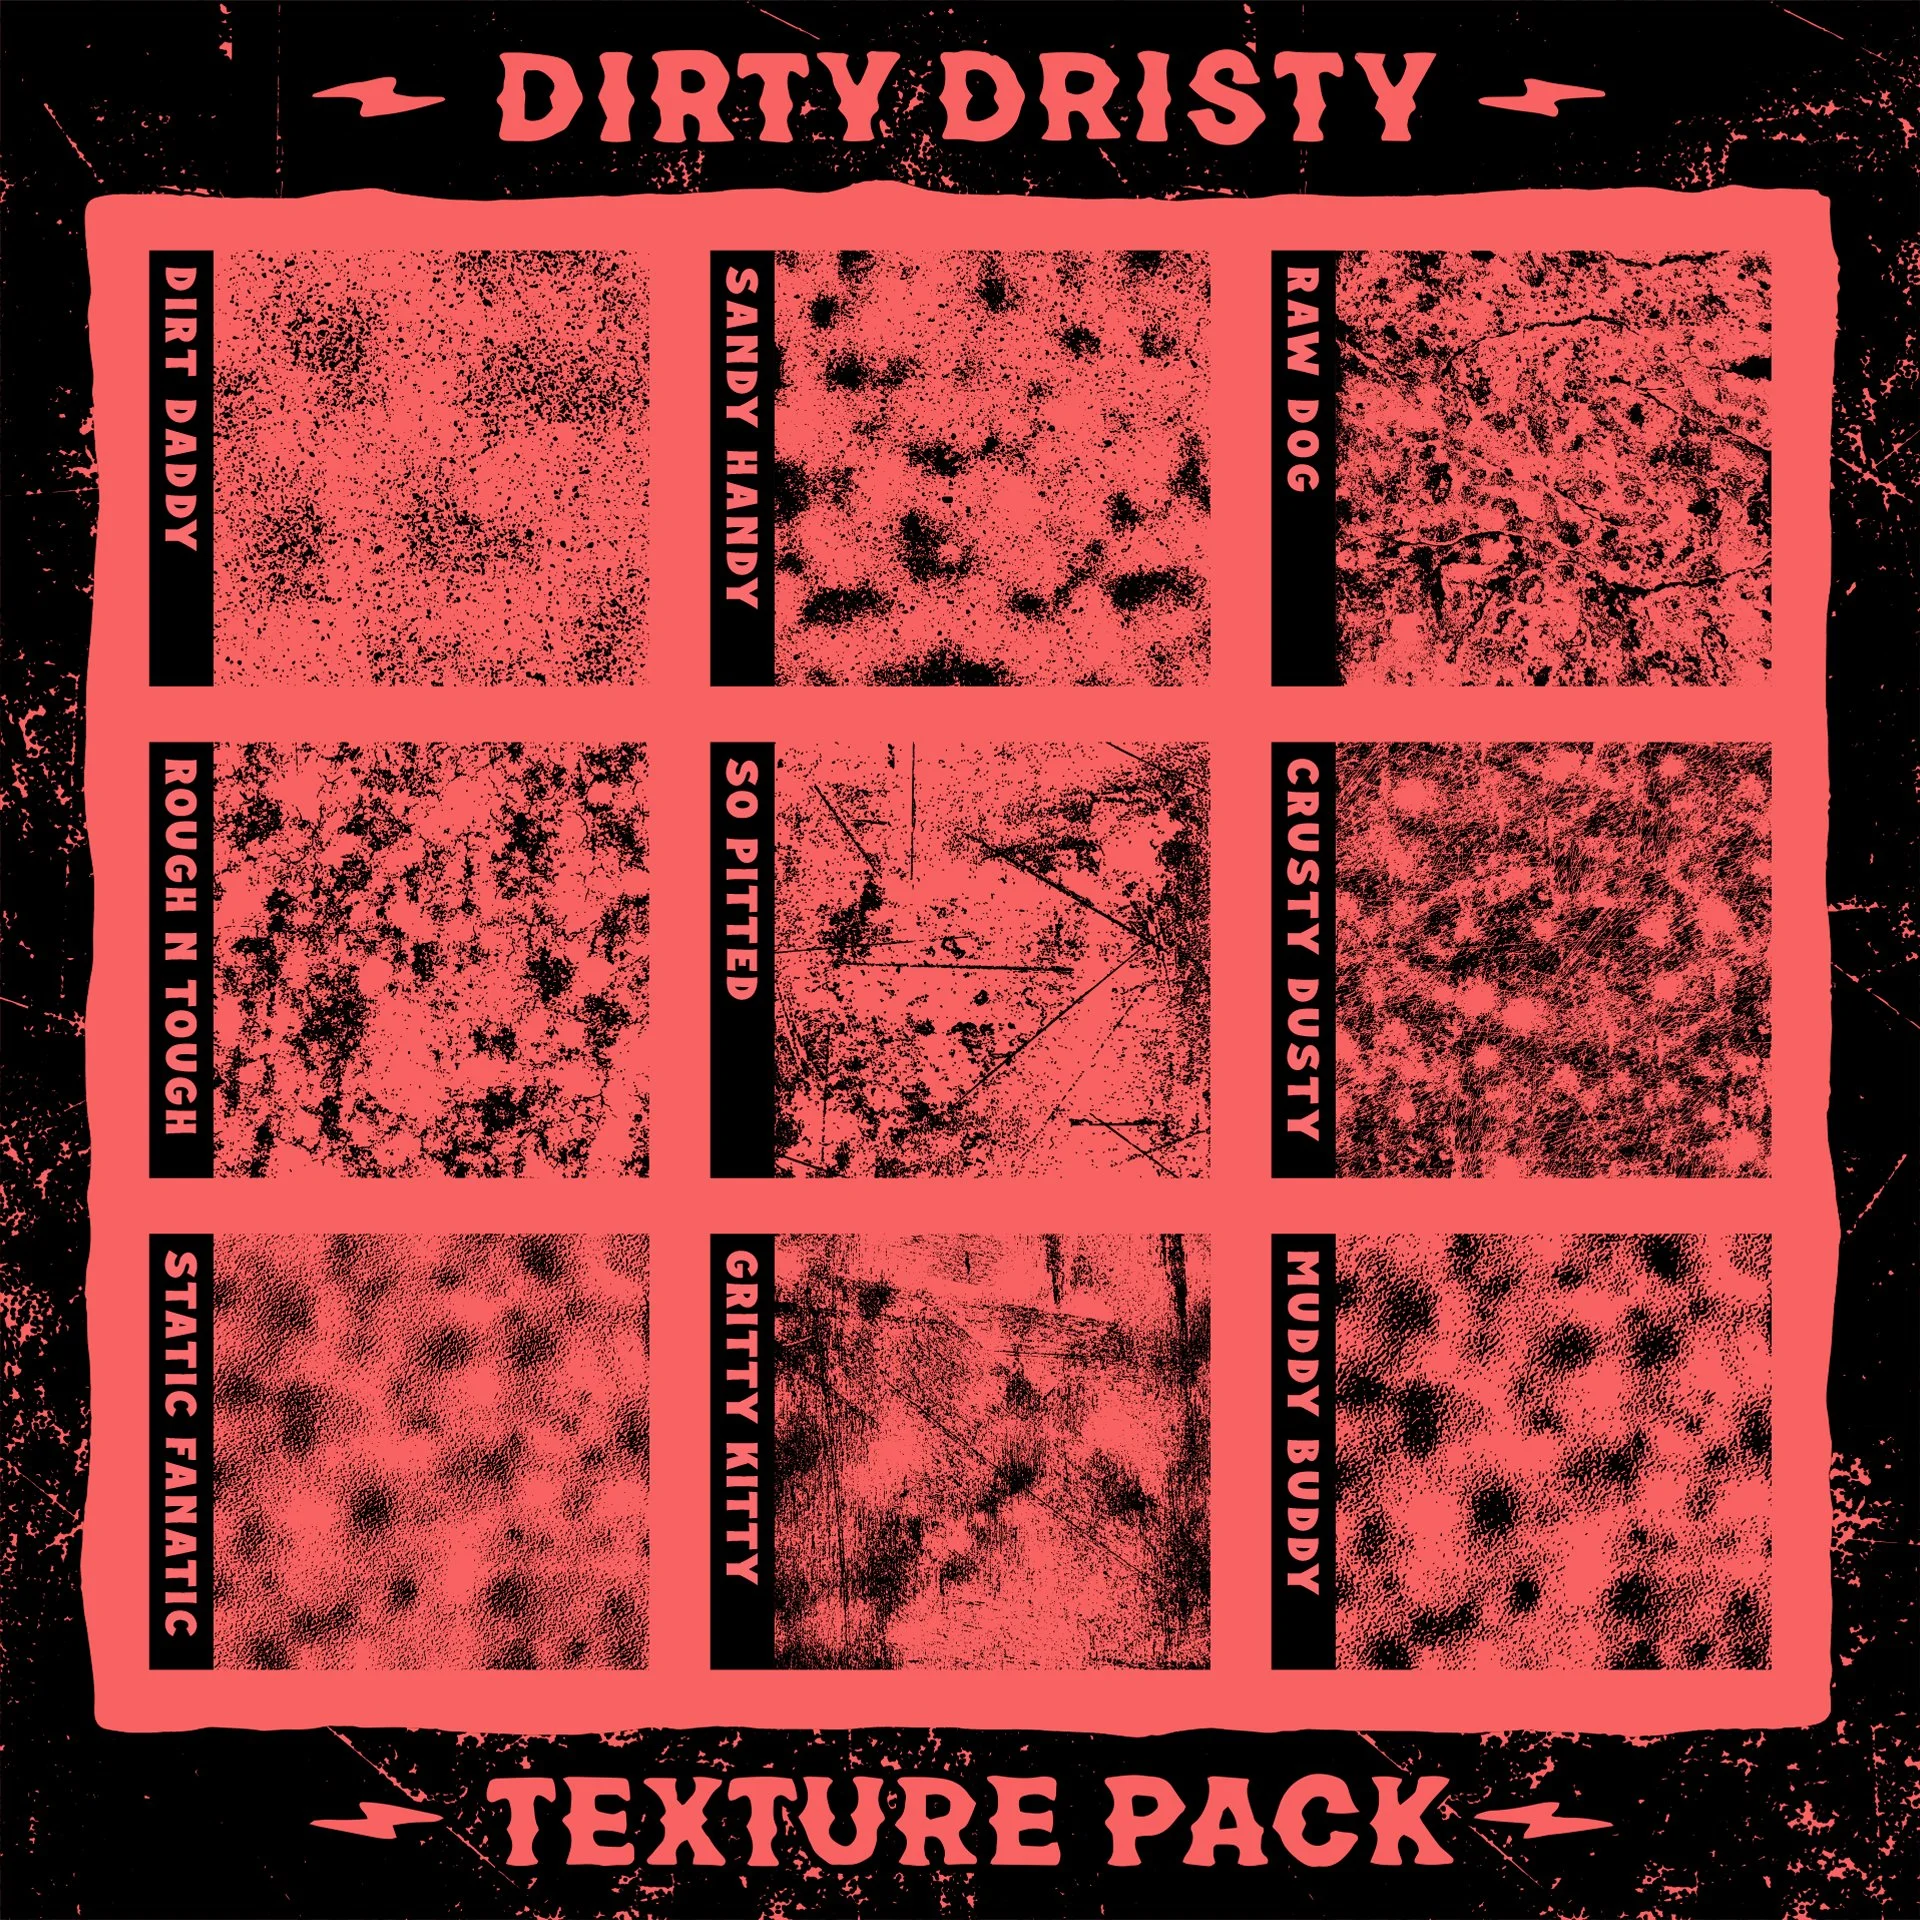
Overview of textures included in the pack.
Common Mistakes Designers Make
• Using bad, low-quality textures
• Just slapping a texture over top of a design
• Making the design unreadable
• Over-texturing everything
• Using textures that don’t match the vibe
• Not controlling how texture hits edges
Texture isn’t supposed to destroy your design, but enhance it.
Follow the steps above and you’ll avoid 95% of the problems I see from beginners.
Tips for Beginners
Think about readability first
Use texture that fit the vibe of the design
Keep everything vector if possible
Know what the texture will actually look like at scale (printed on apparel, etc.)
Examples Using My Vector Textures
Here are some of my past work examples including texture: Work
Examples of previous design work using the textures.
Texture is a big part of how we help brands develop a distinct visual identity, especially in apparel and illustration-heavy projects.
Quick Answers:
How do you add texture to a design in Illustrator?
Place a vector texture over your art, convert your design to strokes, expand, merge, and delete the texture shapes.
How do you distress a design?
Use vector textures and delete them from your shapes using the Magic Wand Tool.
How do you add a weathering effect?
Apply a vector texture, merge shapes, and remove the texture to reveal clean weathered areas.
How do you create vintage texture?
Use worn, cracked, or speckled vector textures over your artwork for a faded retro look.
Click below to learn more about getting started on custom logo design, badge artwork, and apparel graphics that speak to your audience.